
I’m sharing my step by step instructions for how to make this vintage style Christmas card using the Winnie North Pole range of digital stamps from Polkadoodles. Including all my best tips and tricks to get the best out of your card making projects.
Printing Digital Stamps
The digital stamp I have used is from Polkadoodles, from their Winnie North Pole Collection. Isn’t she just the cutest!? Click on the image to get her for yourself. The images are availible individually or you can save money by buying the whole set like I did – I can never choose just one!! Once you’ve got your own copy of the digital stamp print it out using a normal printer onto high quality paper or thin card. It’s best if you can leave the image to dry overnight as this reduces the chances of the ink smudging.

Colouring the Digital Stamp
I’ve used the following ProMarkers and ProMarker Brush pens to colour my digital stamp:
Skin and Hair


Gold


Browns


Greys


Reds


Greens


![Polkadoodles Winnie North Pole Rudolph Reindeer Wreath [Step by Step Card Making Tutorial]](https://hearthearthcrafting.wordpress.com/wp-content/uploads/2021/09/winnie-north-pole-rudolph-reindeer-wreath-image-blog.png?w=1024)
Preparing the Layers of the Card
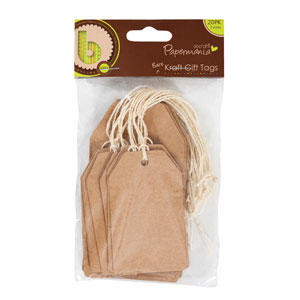
This card is made up of four layers of mounted papers plus the digital stamp and a Kraft tag. I always start by cutting the largest layer first and then work my way down to the smallest. This way I can make use of the scraps leftover from cutting the bigger pieces of paper and card.
Each layer of paper is mounted onto a piece of Kraft cardstock that measures 3mm larger than the paper. This gives a lovely little border around the papers. Kraft card is great for this because it subtly goes with everything leaving the lovely designer papers to take centre stage.
For this card the layers measure:
Base Layer: 14cm square
Squares: 9cm square
Strip: 13cm x 5cm
![Polkadoodles Winnie North Pole Rudolph Reindeer Wreath [Step by Step Card Making Tutorial]](https://hearthearthcrafting.wordpress.com/wp-content/uploads/2021/09/winnie-north-pole-rudolph-reindeer-wreath-papers-blog-1.png?w=1024)
The card blanks come scored but unfolded. It’s simple to fold them along the crease line and press the crease really sharp with a bone folder.
I use double sided tape to stick my designer papers onto their backing mount. I cut the double sided tape to length and lay it onto the back of my paper. One strip at the top and another at the bottom is usually plenty for a card making project.
Then I use a pokey tool to lift up a corner of the double sided tape and remove the rest of the backing strip.
Next I place my paper onto the backing mount, starting with one corner and then I gently lower it into place so that the visible border of the backing mount is nice and even.
The two square panels are prepared in exactly the same way.
The pokey tool makes it so easy to remove the backing from the double sided tape. You can use your finger nail of course but that can get fiddley.
Applying the Ribbon
Ribbon can be tricky to stick onto cards. This is my favourite technique for neatly hiding the raw ends and stopping them from fraying.
I start by sticking the strip of paper to the Kraft card mount using double sided tape. It’s quick and easy to use and it always leaves a neat finish.
For this card I’m making my ribbon stand out by adding an extra strip of Kraft card behind it.
Once that’s stuck in place, I lay my strip of mounted paper flat on my craft mat and stick a length of double sided tape where I want my ribbon. I make sure that the ends of the tape extend over the ends of the paper and left them stick lightly to the mat.
Then I place my length of ribbon to the exposed tape and press it onto the paper.
I gently lift the paper off the craft mat and turn it over. It’s easy to press the ribbon and the extra tape to the back of the paper so that the ends are neatly hidden from the front of the card.
![Polkadoodles Winnie North Pole Rudolph Reindeer Wreath [Step by Step Card Making Tutorial]](https://hearthearthcrafting.wordpress.com/wp-content/uploads/2021/09/winnie-north-pole-rudolph-reindeer-wreath-ribbon-blog.png?w=1024)
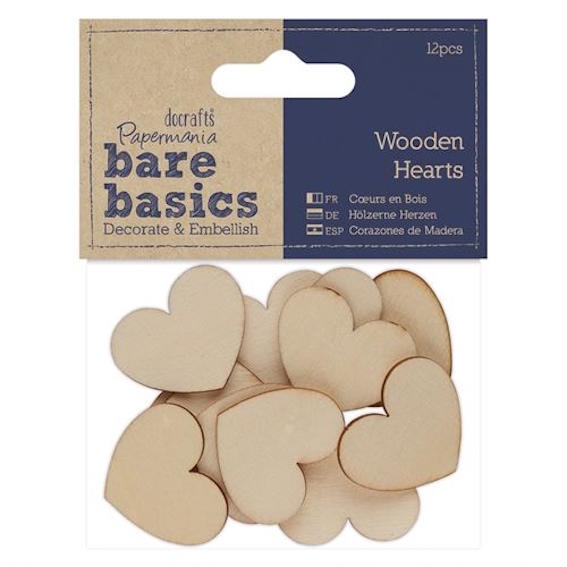
Covering the Wooden Heart
I’ve got these cute little wooden hearts. To make the match the rest of my project perfectly I’m covering them with some scraps of my designer papers. I start by covering the heart in PVA glue (which I totally nicked from my kid’s craft box!).
Then I pop the heart onto a scrap of paper that co-ordinates with my card making project. Then I set it to one side to dry overnight.
![Polkadoodles Winnie North Pole Rudolph Reindeer Wreath [Step by Step Card Making Tutorial]](https://hearthearthcrafting.wordpress.com/wp-content/uploads/2021/09/winnie-north-pole-rudolph-reindeer-wreath-embellish-blog.png?w=1024)
Assembling the Card
I start by sticking the base layer to the card blank with double sided tape.
I love adding dimension to my cards with 3D foam pads. They make it so quick and easy. You don’t need a lot of them, just one in each corner and one along each edge if it’s a bigger piece of card.
Bent tweezers are fantastic for perfectly positioning all the layers.
The ribbon panel comes next.
And then the second square panel.
![Polkadoodles Winnie North Pole Rudolph Reindeer Wreath [Step by Step Card Making Tutorial]](https://hearthearthcrafting.wordpress.com/wp-content/uploads/2021/09/winnie-north-pole-rudolph-reindeer-wreath-greeting-blog.png?w=1024)
Sometimes I want to add an element that needs to stick to the base of the card and also to the raised panels. I’ve found it both sticks and looks better if I use 3D foam pads on the part that will stick to the base of the card and double sided tape on the part of the element that sticks to the raised panels.
Then the tag can be carefully positioned and securely stuck in place without bending.
Making the Embellishments
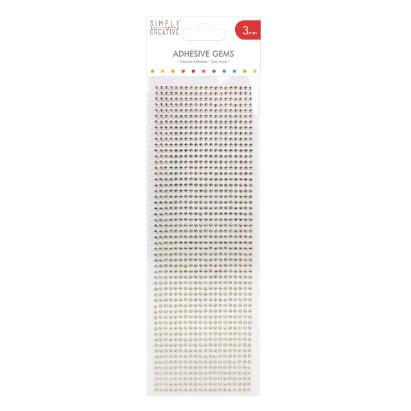
I love adding these little gems to the corners of my cards.
When my little wooden hearts are dry I cut away the excess backing paper with a craft knife.
![Polkadoodles Winnie North Pole Rudolph Reindeer Wreath [Step by Step Card Making Tutorial]](https://hearthearthcrafting.wordpress.com/wp-content/uploads/2021/09/winnie-north-pole-rudolph-reindeer-wreath-accent-blog.png?w=1024)
And then stick the heart onto my card using 3D foam pads.
I typically use silicone glue for bulkier embellishments like this bow that I’ve tied from the ribbon.
Inside the Card
The inside of the card is also decorated with matching papers along with a blank square for a personal message.
![Polkadoodles Winnie North Pole Rudolph Reindeer Wreath [Step by Step Card Making Tutorial]](https://hearthearthcrafting.wordpress.com/wp-content/uploads/2021/09/winnie-north-pole-rudolph-reindeer-wreath-inside-blog.png?w=1024)
Products I’ve Used


Card Making Challenges I’m Entering
- Digi Choosday Challenge
- Pammie’s Inky Pinkies Challenge
- Polkadoodles Craft Challenge
- Creative Fingers Challenge
- Lemon Shortbread Challenge
- Penny’s Challenge
- IKE’s WORLD Challenges
- Holly and Ivy Christmas Challenge
- CHNC Challenge Anything Christmas Goes
- Ally’s Angels
I do hope you have enjoyed having a peak at my latest card making project.
Please feel free to use my handmade cards to inspire your own creations, pin it to your Pinterest for later.
![Polkadoodles Winnie North Pole Rudolph Reindeer Wreath [Step by Step Card Making Tutorial]](https://hearthearthcrafting.wordpress.com/wp-content/uploads/2021/09/winnie-north-pole-rudolph-reindeer-wreath-pinterest.png?w=683)
Card Making Link Ups
[Really Crafty Link Party] [Craftastic Monday Link Party] [All About Home Link Party] [Beautifully Made Link Party] [Creatively Crafty Link Party] [Create, Bake, Grow & Gather Party] [Farmhouse Friday] [Handmade Monday] [Inspire Me Monday] [Dare to Share] [Saturday Sparks Link Party] [Wednesday Link Party] [Spread The Kindness Link Up] [Encouraging Hearts & Home Blog Hop] [Wonderful Wednesday] [Karins Kottage Wednesday Linky Party] [Creative Muster] [Happiness Is Homemade]

A Little Bit About Me . . .
Thank you so much for stopping by my corner little of the interweb. I’m Bridie, mum to two small humans, full time homemaker and full time craftaholic – which totally explains why I’m always short on time!

I’ve included links to my favourite retailers for the products I’ve used to make my crafts. Click on any of the product images and links for full details. If you decide to buy any of these products I may get a small percentage of what you spend. There’s no cost to you at all.

Gorgeous card with lovely layering and the sweetest image! Great tutorial too!
Thank you for joining us at Polkadoodles Digi Choosday! Jane S (DT) Paper, Pencils & Pretty Things xxx
LikeLike
Thank you so much for taking the time to visit and comment. I really appreciate all your hard work keeping the challenge running.
LikeLike
A great card – thanks for sharing it with us at Penny’s Paper Crafty Challenge.
Helen x
LikeLike
Thank you so much for helping to run the challenge, I really appreciate all your effort.
LikeLike
Beautiful card and wonderful tutorial! Thanks for entering the Digi Choosday Challenge!! – Linh (DT)
LikeLike
Thank you so much. I really enjoy the Digi Tuesday craft challenges.
LikeLike
Beautiful card and fabulous tutorial Thank you so much for joining with us at Digi Choosday Crafting Challenge. Good luck with your entry
Maritza DT
LikeLike
Thank you so much for visiting my little blog. Your support means so much!
Happy crafting
LikeLike
That is a lovely card! I have never heard of a digital stamp before but it is such a cute idea. Pinned.
LikeLike
Digital stamps are awesome!! They’re much cheaper than traditional rubber or clear stamps. And they live in my hard drive so there’s no limit to how many I can fit in my craft space!!
LikeLike
Aww that is really cute, thanks for joining us at Ikes World Challenges
LikeLike
Thank you so much for stopping by my little crafty corner of the Web.
LikeLike
Thank you for sharing your lovely crafting for CHNC challenge 570 – I hope to see you again soon. x
LikeLike
Thank you so much for taking the time to visit and comment, I really appreciate your support.
Happy crafting
LikeLike
What a beautiful card. The papers fit perfectly with Winnie!
Thanks for playing with us at Polkadoodles Digi Choosday Craft Challenge.
I hope to see you next time.
Hugs, Myriam
DT Polkadoodles
LikeLike
Thank you so much for taking the time to comment, I really appreciate your support.
Happy crafting!!
LikeLike
Gorgeous card Thank you for joining us at Ike’s World Challenges. Good luck Ginny DT for
Ike’sWorld challenge
My Blog As I do Rodos
LikeLike
Thank you so much for taking the time to leave me a lovely comment. I really appreciate your support. Happy crafting!!
LikeLike